.png)
Add a New Email List

Dec 06, 2024
 5572
5572
See List/Committee vs Email List: Which Should I Choose? before creating your new email list.
- Click Lists/Committees in the Navigation Panel. A listing of all lists/committees configured in your database will display.
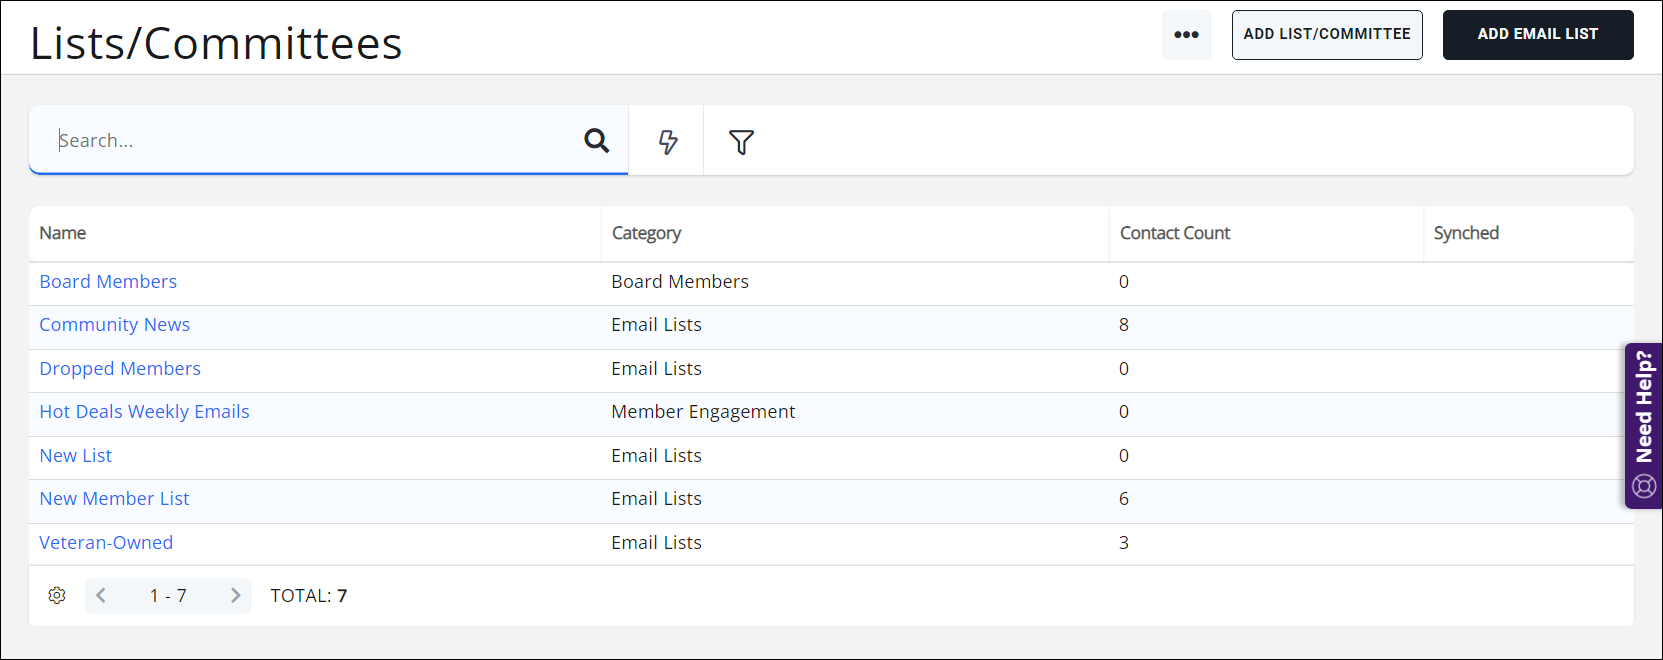
- Click the Add Email List button.

- Configure the following on the Add Email List screen:

Creating a new email list - Name - Enter a name for the new list. Use a name that well describes this list, as it will be displayed in the To line of your emails.
- Primary Category - Select the category to which you want to associate this list. Categorizing will make it easier to filter and report on this list.
INFO HUB NOTE: If you wish the email list to appear in the Info Hub on the member's "My Subscriptions" section as an email list, select Email List. Using any other category from this dropdown will cause the list to display in the Info Hub in the "My Info" section under "Lists/Committees" (if configured to display).
COMMUNITY NOTE: If you are subscribed to the Community module and wish to have Community Interaction enabled for this list, select any category EXCEPT Email List. By default, there are four List/Committee Primary Categories:- Staff: this will set the list up as a list/committee type, and will allow the Community Interaction option to appear.
- Board Members: this will set the list up as a list/committee type, and will allow the Community Interaction option to appear.
- Email Lists: this will set the list up as an email list type, and the Community Interaction option will NOT be available for this list.
- Member Engagement: this will set the list up as a list/committee type, and will allow the Community Interaction option to appear.
You can set up as many custom Primary Categories as you like in your system; you may need to experiment with your custom list/committee categories to find the correct one for your system (or select one of the known default Primary Categories above instead). -

Selecting a List/Committee type when creating a new list/committee. - Additional Categories: With Additional Categories, GrowthZone can mark specific lists to sync with a third party solution such as Breezio using an API call. Customers must subscribe to the API module for use. We do not have a list of vendors yet, but the APIs should be widely applicable to most standard use cases.
- Established On - If you wish to track when this group list was started, enter an established on date.
- Description - (Optional) Provide a description of the list.
- Display Options:
- Is Active - Select this check-box to activate this list. If the list is not activated, it will not be displayed and will not be available to select for use.
- Public Can Join - Select this check-box to allow the public to join this list. If selected, the list may be displayed on your website and/or a widget may be created for contacts to join.
- Users Can Join - Select this option to allow your member users to join this list. If selected, the list may be displayed on your website.
- Synchronize Contacts with authorized third party newsletter solution - If you are using a third party solution such as Constant Contact or MailChimp to send newsletters, select this option to synchronize this group to your solution.
- Click Done.

