.png)
Update List/Committee General Settings

Feb 27, 2024
 2247
2247
- On the General tab of a List/Committee, you will be able to update the settings you configured when the list/committee was first created.

- You can view and/or change the following settings on the General tab:
- Name - Enter a name for the new list. Use a name that well describes this list, as it will be displayed in the To line of your emails.
- Category - Select the category to which you want to associate this list. Categorizing will make it easier to filter and report on this list.
- Established On - If you wish to track when this group list was started, enter an established on date.
- Show When Unsubscribing - This setting will only show lists/committees with the Show When Unsubscribing box checked when a recipient clicks the unsubscribe link in an email (Optional).
- Description - Describe the list (Optional).
- Sponsor - Enter the name of the committee sponsor (Internal Use Only).
- Meeting Time Description - Enter information about the meeting times for this committee (Internal Use Only).
- Default Term (Months) - Enter the default term length that members may sit on this committee (Optional). This field is informational only and will NOT remove contacts from a list after the term has passed. (Internal Use Only)
- General Settings:
- Is Active - Select this checkbox to activate this list. If the list is not activated, it will not be displayed.
- Synchronize Contacts - If you are using a third-party solution, such as Constant Contact, select this option to synchronize this group to your solution. NOTE: If the group is set to Disallow opt-out, the Synchronize Contacts option cannot be enabled at the same time. Groups that are set to Disallow opt out can not be synchronized to a third-party solution.
- Disallow Opt Out - Select this option if you do not wish members on the list to be able to opt-out from the list. When this is set, the unsubscribe message will not be displayed at the bottom of emails sent to this list/committee. See What happens when a group email recipient opts out for further information on opt-outs. NOTE: If the group is set to synchronize to a third-party newsletter, the Disallow opt out option cannot be enabled at the same time. Groups that are set to Disallow opt out can not be synchronized to a third-party solution.
- Synchronize Nightly with Report - Selecting a report from the dropdown will update the list/committee roster nightly with the results of the report. See Dynamically Update Contacts in Lists/Committee from Report Results for details.
- Public Display Options
- Allow External Use: Enable this option if you wish to display this list publicly. This will allow you to display the list on your website; see Publish GrowthZone Content to Your Website for more information.
- Allow Public Subscribers: Enable this option if you wish to allow the public to join this group from your web page or your membership application form. When this option is enabled, Allow External Use will automatically be enabled as well.
- Hub Display Options:
-
Users can see List in My Info or My Subscription: Enable this option to allow your members to view the list in the Info Hub. Where the list appears will depend on whether this list was created as an Email List, or a List/Committee.
-
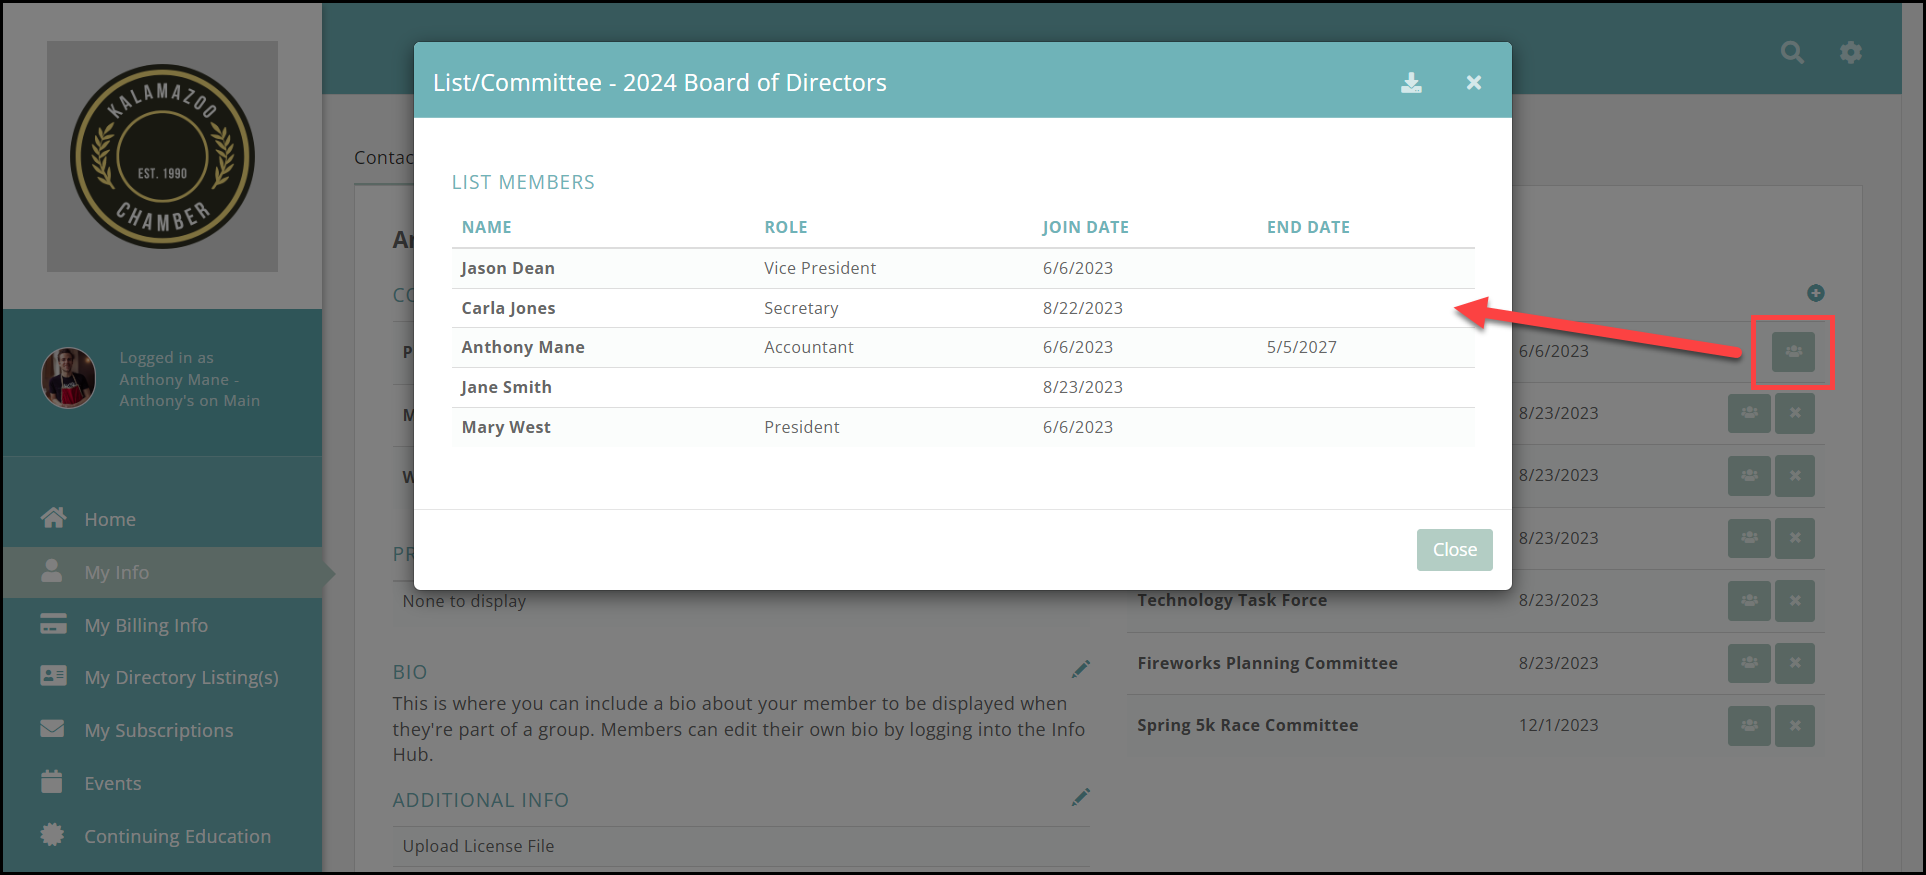
When enabled, the Users on List can view other Users on List option will become available to select. This will allow members of the list to see the other members on the list, including their Role, and Join/End Date.
-
- Users on List can view other Users on List: This option will allow members of the list to see the other members on the list. It is greyed out until the Users can see List in My Info or My Subscriptions option is enabled.
- Users Can Join: Select this option if you wish to allow your members to join this list/committee via the Info Hub.
-
- Click the Save button at the top of the panel if you have made changes.

