.png)

 4564
4564
Through import functionality, you can import a file containing the contacts that you wish to add to a list roster. If contacts already exist in your database, the system will match them, if the contacts do not exist, the system will create a new contact. To import a list, start with .csv, .xls, or .xlsx file with column headings. Once you choose your file, you will be provided with prompts to map your column names to the available fields in the database.
Please note that the import function is designed to import individuals and not companies/businesses/organizations; you can have a company name attached to an individual, but no other company data (address, phone number, email, etc.) is compatible with the list contact import. Be certain that your review and comply with GrowthZone Email Guidelines and Compliance.
At minimum, First Name, Last Name and Email Address columns/headers are required in the file to import. The email address is used by the import function to match to existing contacts; if no email is present in the file the system will not create a contact record.
The available fields for an import are:
- First Name
- Middle Name
- Last Name
- Primary Title
- Primary Address 1
- Primary Address 2
- Primary Address City
- Primary Address State/Province
- Primary Address Postal Code
- Primary Email Address
- Primary Assistant Email Address
- Primary Phone Number
- Primary Web Address
- Organization Name
|
|
IMPORTANT: The maximum number of contacts that can be uploaded at one time is 1000. You can upload multiple lists to a single list/committee. Please be aware that large lists can take up to 30 minutes to process.
When selecting the Edit Import Contacts as part of Step 4, only an Email List of individuals (not organizations) will allow you the option of Do Not Add to CRM/Contacts / Keep Only in List. |

- If needed, create a new email list or new list/committee. You can also use an existing list.
- For the desired list/committee, click the Import tab.

- Click the Import Contacts button.

- The Edit Import Contacts window will open.

- Click the Choose File button to navigate to and select your file of contacts. The file must be .xlsx, .xls, or .csv. If the wrong type of file is imported, you will receive an invalid file type error. You may see an upload graphic with red, yellow, and green indicators on the screen as the file loads.
- Once imported, you will map the fields imported in your file, to database fields. Columns from your spreadsheet are in the Source list, and you will select the GrowthZone fields from the Destination drop-down lists. If you have a field/column in the file you don't wish to include in the import, or does not match an available field in the Destination dropdown, do not match it to a Destination field and that field will not be included in the import process. For example, in the screen capture below, our file contains a column for Tags. Tags are not a field that can be used in an import; therefore, we will not match it to a field and it will not be imported into GrowthZone.

- Once you have completed mapping the Source (file) fields to the Destination (GrowthZone) fields, click on the View Terms link to view the import Terms & Conditions. YOU ARE REQUIRED TO ACCEPT THE IMPORT TERMS & CONDITIONS. Please read the Terms & Conditions and click Close.

- In the Import Details section, select the applicable options.
- Accept Terms and Conditions: Enable this to agree to the import Terms & Conditions (see above). You can click the View Terms link to review the import Terms & Conditions again if needed.
- (Optional) Enable Create new contacts if contacts that are imported are not yet in the database option if you wish the system to automatically create new contact records in your database if the contact doesn't currently exist. NOTE: only individual contacts can be fully imported at this time. If a business name is included, the system will try to match to an existing organization; if one does not exist it will create a new record for that organization, but only the name of the organization will be populated.
- (Optional): Do Not Add to CRM/Contacts / Keep Only in List: enabling this option will import contacts into the list only and will NOT create contact records for them. This will only be available as an Email List for individuals and not organizations.
- (Optional): Remove Contacts Not in This Import: this will overwrite all the previous contacts on this list with the contacts in the imported file.
- Click Done. A green Success! message will appear in the upper right for a few moments.
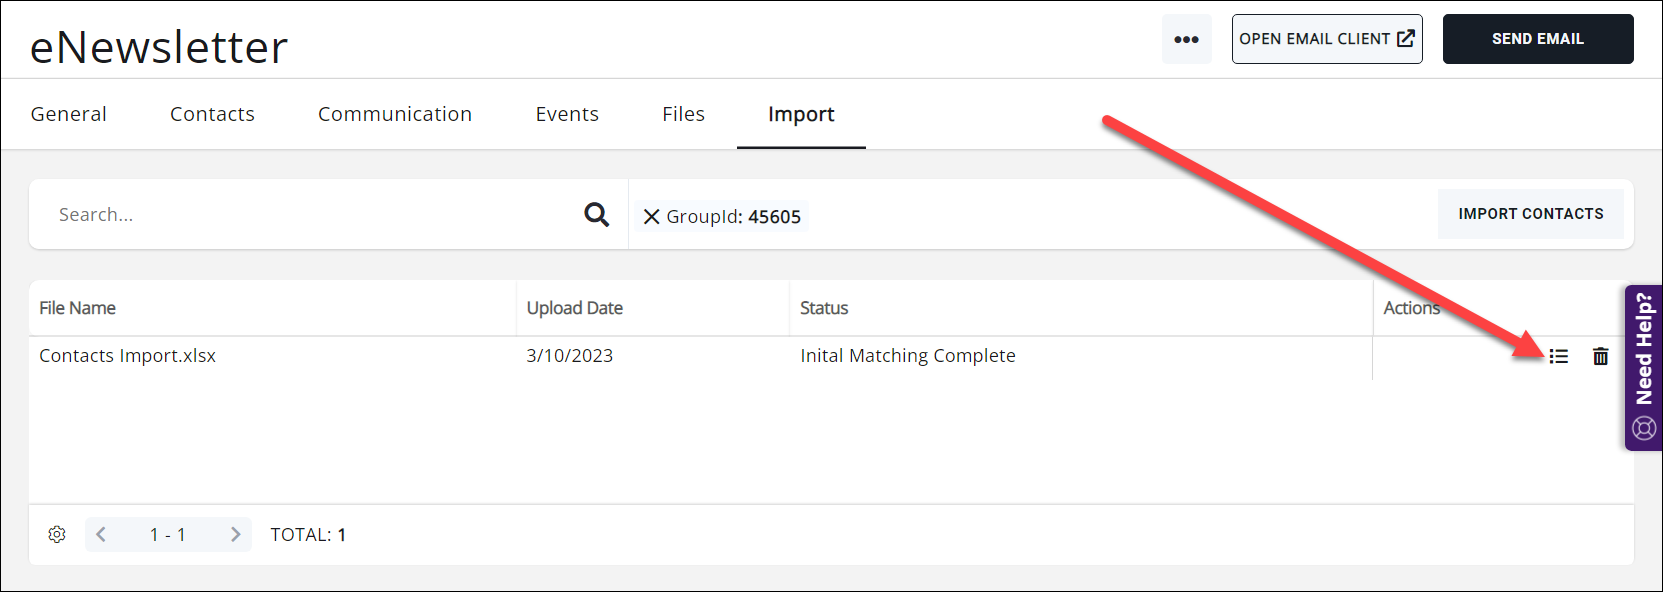
You may see your file import going through several stages (Mapping Approved, Checking). When the file reaches the Initial Mapping Complete stage, a green Your file upload is complete message will appear in the upper right. Navigate to the Import tab of the list you are working with, or refresh your page. On the right is an Actions column; click the list icon ![]() to review the matches.
to review the matches.
This will open the Edit Group Contact Import Match Preview window.

Click any of the links to open a new window to review the matches.
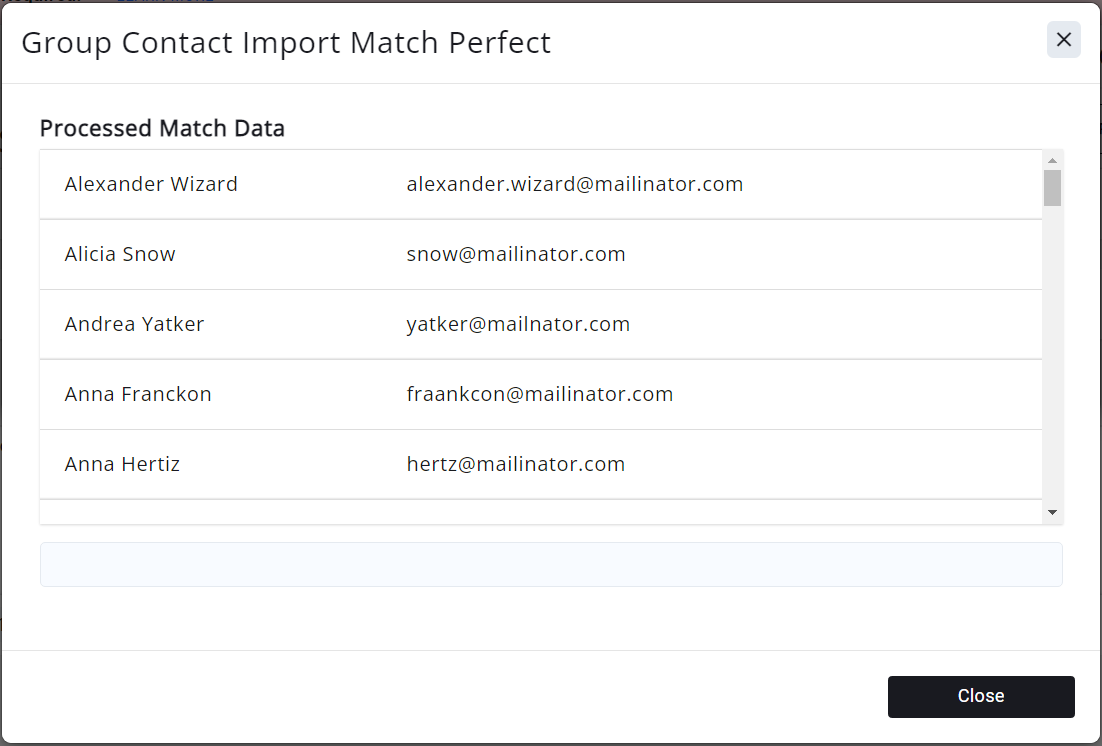
- Exact Match: The Group Contact Import Match Perfect window will open for review only. No further actions available.
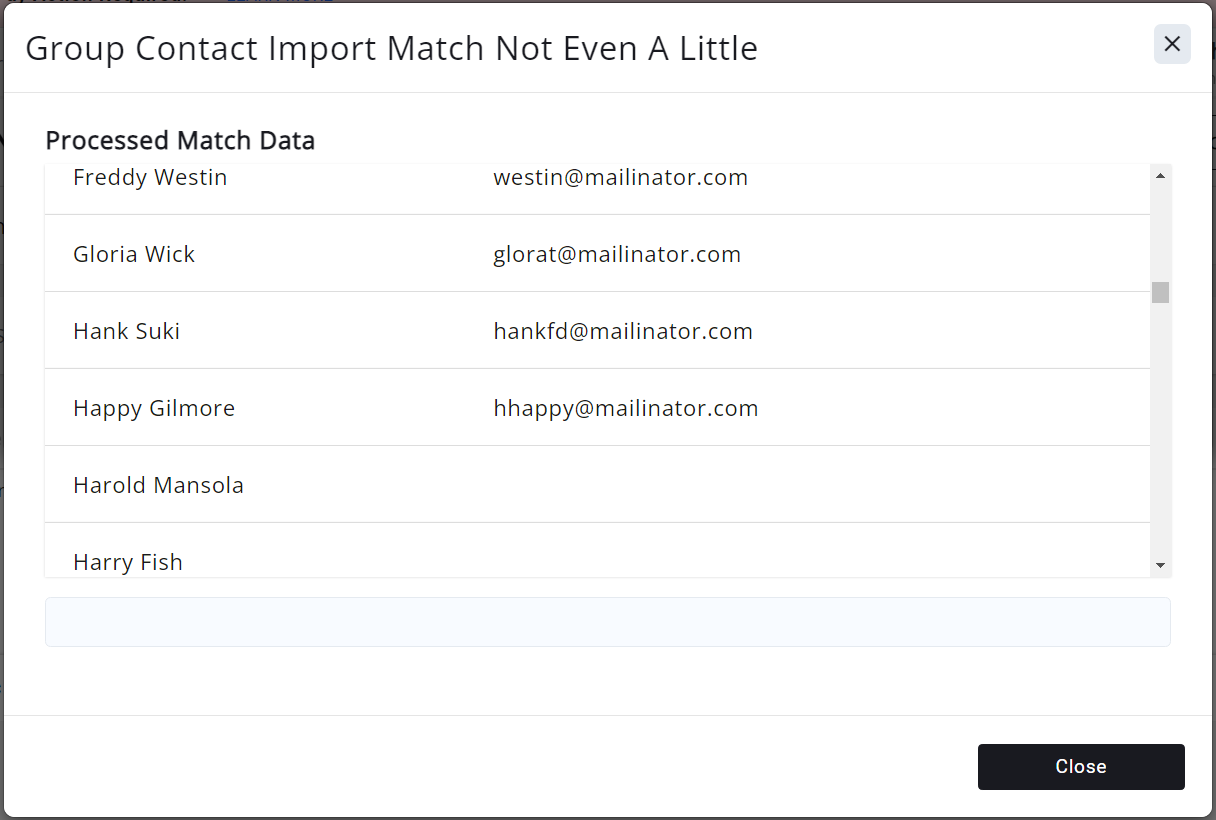
- No Match (New Contacts): The Group Contact Import Match Not Event A Little window will open for review only. No further actions available.
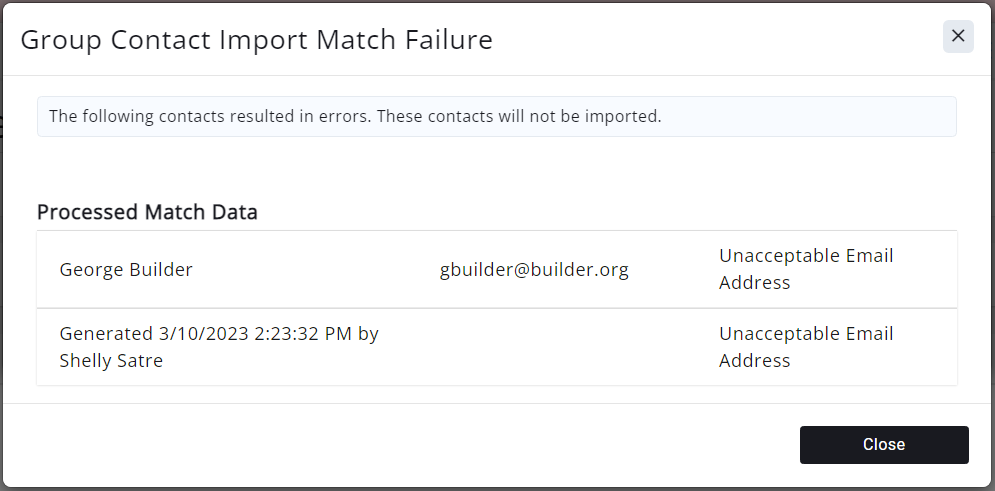
- Errors: The Group Contact Import Match Failure window will open for review only. No further actions available.
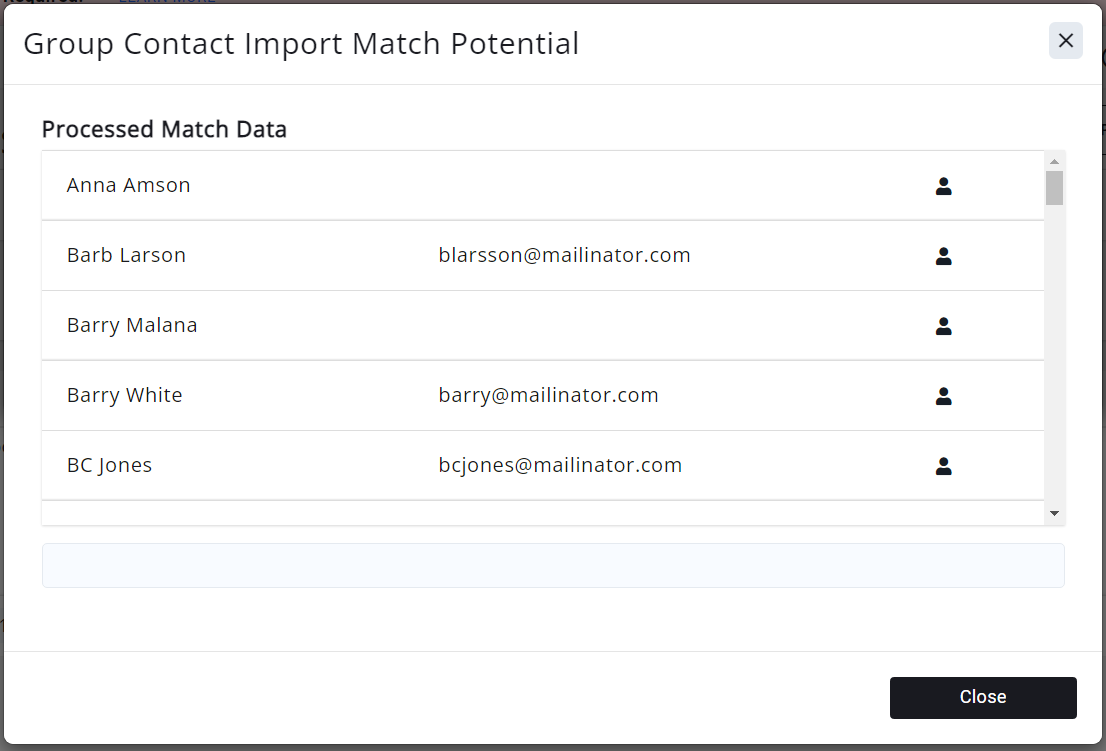
- Possible Match: The Group Contact Import Match Potential window will open. You will want to review any potential matches to specify which action you want the import to take.
Click the icon ![]() to open the Edit Group Contact Import Find or Match Contact window.
to open the Edit Group Contact Import Find or Match Contact window.
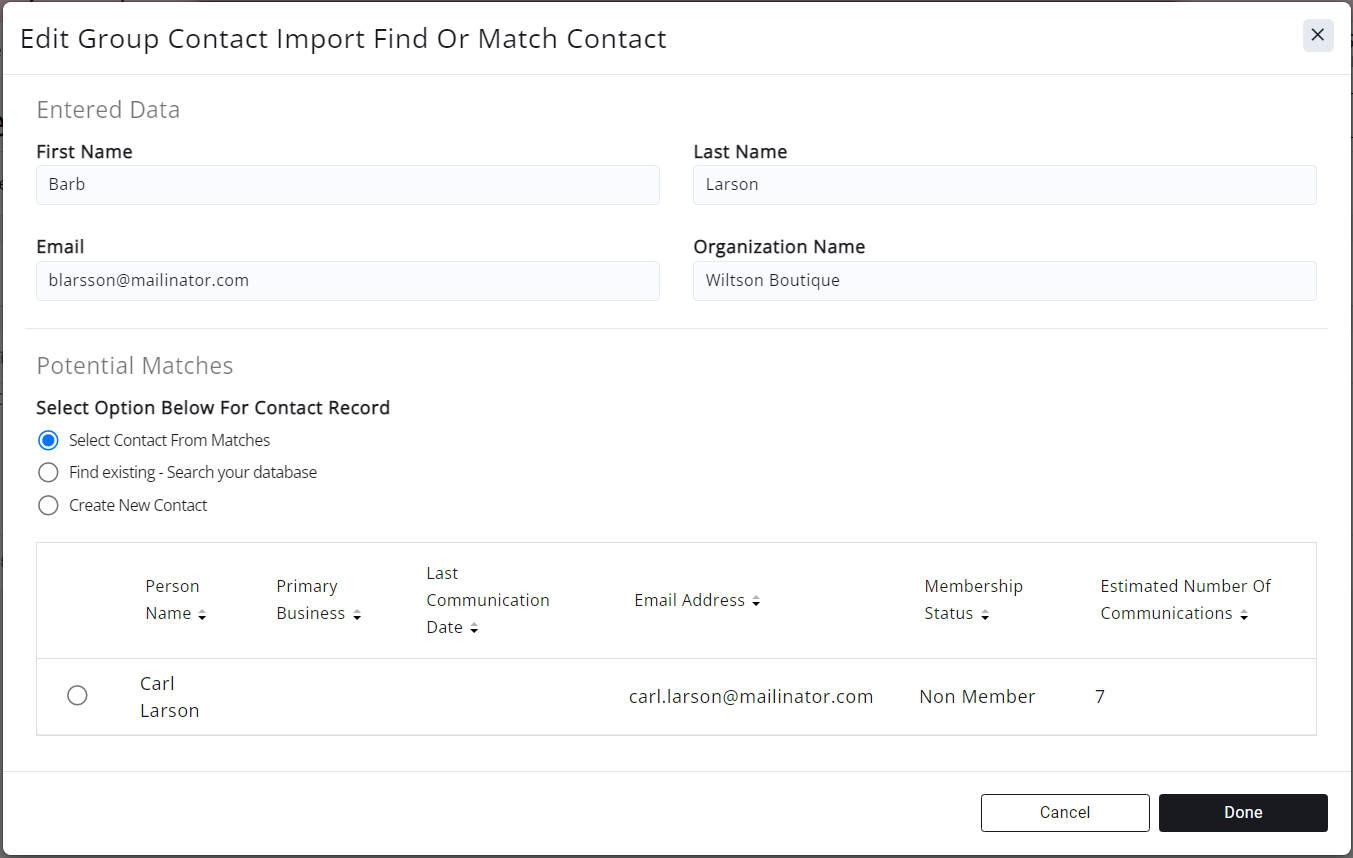
- Select Contact From Matches: the system has a possible match, and will display the likeliest match or matches to select- this will update the import to use the selected individual contact;
- Find existing: if the system cannot provide a match, or you know the match(es) selected are not correct, you can search your database for the correct existing contact;
- Create New Contact: if this is truly a new contact to your database, you may create a new contact record.
Select an option and click Done, and continue with other contacts that require matching.
Once you have completed all matching, click the Execute Final Import button.
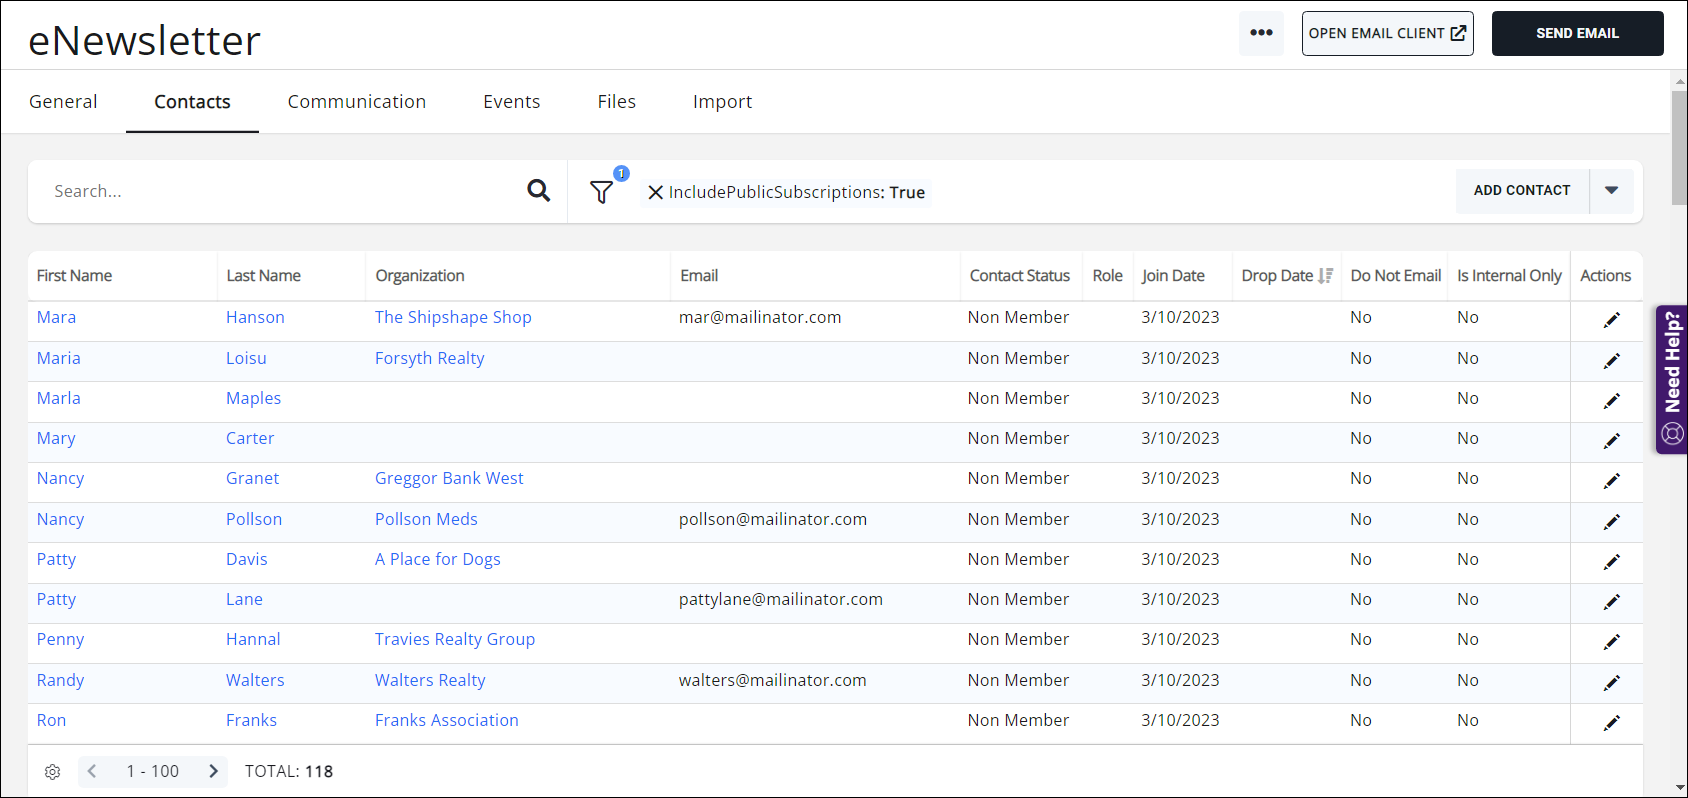
The status column will display Completed Successfully. You will then be directed to your list's contacts tab, where you will see the newly added contacts. NOTE: the system make take some time to populate all the contacts. If you do not see all the contacts at first, come back later and review the list. Very large lists may take an extended amount of time to fully complete the import.