.png)
Mailing Labels

Mar 22, 2023
 2679
2679
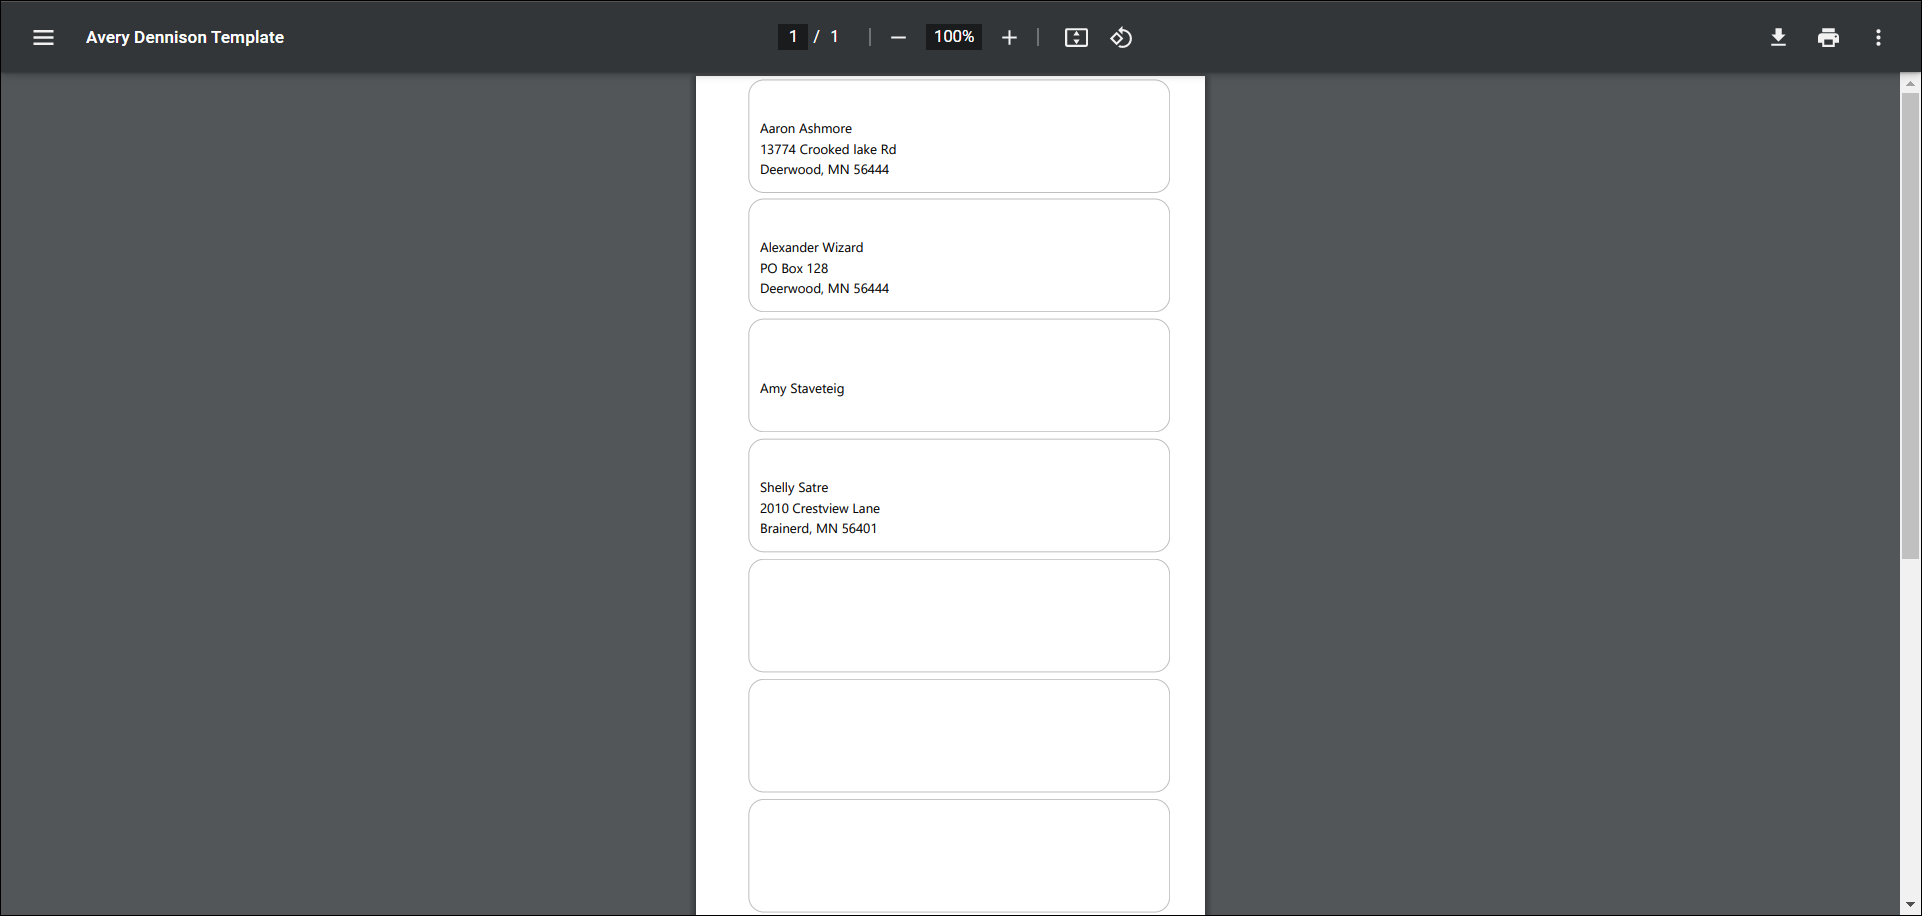
You can create mailing labels directly from the results of your report. The contact’s address marked as Mailing or Physical and Mailing is used as a priority if available. If more than one is listed as Mailing type, it will use the one marked as Default. The address of the contact is used if no fall back address is available.
- Define the desired filters for your report and run your report.
- When you have the data set you are looking for, click the ellipsis
 next to the Run Report button. This will expand the report options flyout menu.

Our final report results, and the expanded Report Options menu. - Select the Mailing Labels option. This will open the Add Mailing Labels window.

The Add Mailing Labels window. - Select a Label Format (see Setup Your Document Templates for more details).
- Select a Mailing Sort Order, Font Family and Font Size for your labels.
- (Optional) Select an Endorsement.
- (Optional) Enable "Include Business Name for Individuals and Primary Rep Name for Businesses".
- (Optional) Enable "Include 'or current resident' below addressee name on mailing labels".
- Select the file format (PDF or Word document) for the labels.
- Click Done.
The system will download the labels using the chosen label template to your selected document format and will save them on your computer. You can then open the label document and print the labels.