.png)
Publish GrowthZone Content on Your Web Site

May 19, 2023
 8387
8387
Several modules from your GrowthZone Database can easily be added to your website. You can add the following, depending on which modules you have enabled with your subscription package:
- Directories
- Event Calendars
- Web Content (Blogs, News Releases, Job Postings, Deals)
- Forms
- Membership Application Form
- Lists/Committees
- Store
There are additional instructions on the Module Integration page, but here are the basic steps for publishing GrowthZone content to your website (GZCMS or otherwise).
- Click Setup in the left-hand navigation panel.
- Click GrowthZone Pages in the Website section.
- Click the numbered hyper-link in the Pages column. The Manage Site Modules dialog box will open, displaying any of the modules you have currently configured for use in your website.
- Click the Add Module button.

Configure the following in the Add Site Module window:
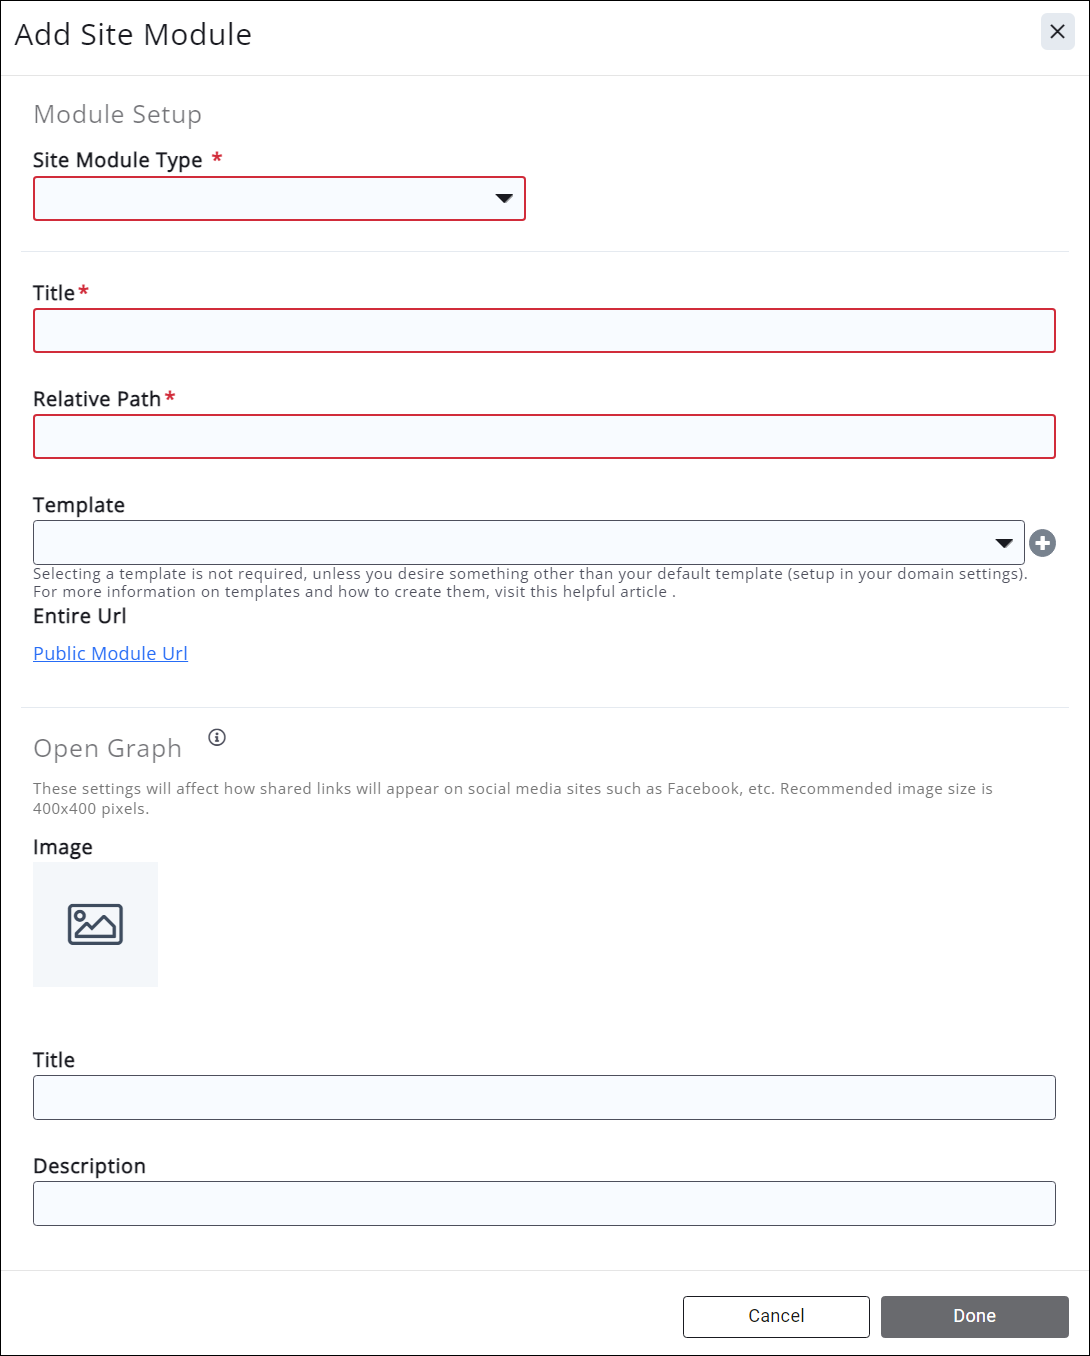
- Select the desired module from the Site Module Type drop-down. NOTE: Some module types (Directories, Web Content, and Calendars) allow you to select a module version. We recommend selecting the most current, updated
version (usually Version 2) whenever possible. - If there are multiple instances of the site module type (for example, if you have multiple calendars multiple directories, forms, etc.), select the desired module from the Content List drop down.
- If working with a Directory, Web Content, Store, or Event Calendar module, you will be able to select the Default Public Layout. This is the way the module will display on the public web page. Select from the dropdown. Available choices will be determined by the Site Module Type.
- Small List (Directory, Web Content, Store, or Event Calendar)
- Medium List (Web Content)
- Grid (Directory, Web Content, Store, or Event Calendar)
- Calendar (Event Calendar)
- Enter a Title. This is the default title that will be used on your website.
- Enter a Relative Path. This will be used to populate the URL that is system generated. By default, the system will use the Title as part of the URL, but you can customize this if you like. NOTE: this should be letters and dashes only; do not use any spaces or special characters.
- You can leave the Template dropdown blank if you want the default template to apply. If different from the default, select the Template to be used for this module. The templates used in your website design will be populated in the drop-down list. See a video on How to Create and Assign Templates to Your Module Pages
- The Entire Url will automatically be populated after you save the new module (you will need to save your changes first, then reopen the window to refresh the link). This is the URL that you will use in your website to link to the page.
- If you are using the Sponsors/Ads module, configure the Top of the page and the Bottom of the Page advertising types. See Working with Ads for further details.
Click Done.
The URL needed to add the module to your website will automatically be generated. You can use this link within the content modules on your website, or you can use the link to add a menu item to your website.

