.png)

 430
430
If you have elected to allow invoicing in your event, there are a couple different options for getting invoices to the registrants.
Include a link to the Invoice
Your first option is to include a link to the invoice in the registration confirmation email. To enable this option, go the Attendee Setup tab and click the pencil icon for the overall registration options. Enable or verify that the Allow Invoicing option is enabled- this will then display the Include Invoice link in Confirmation Email setting.
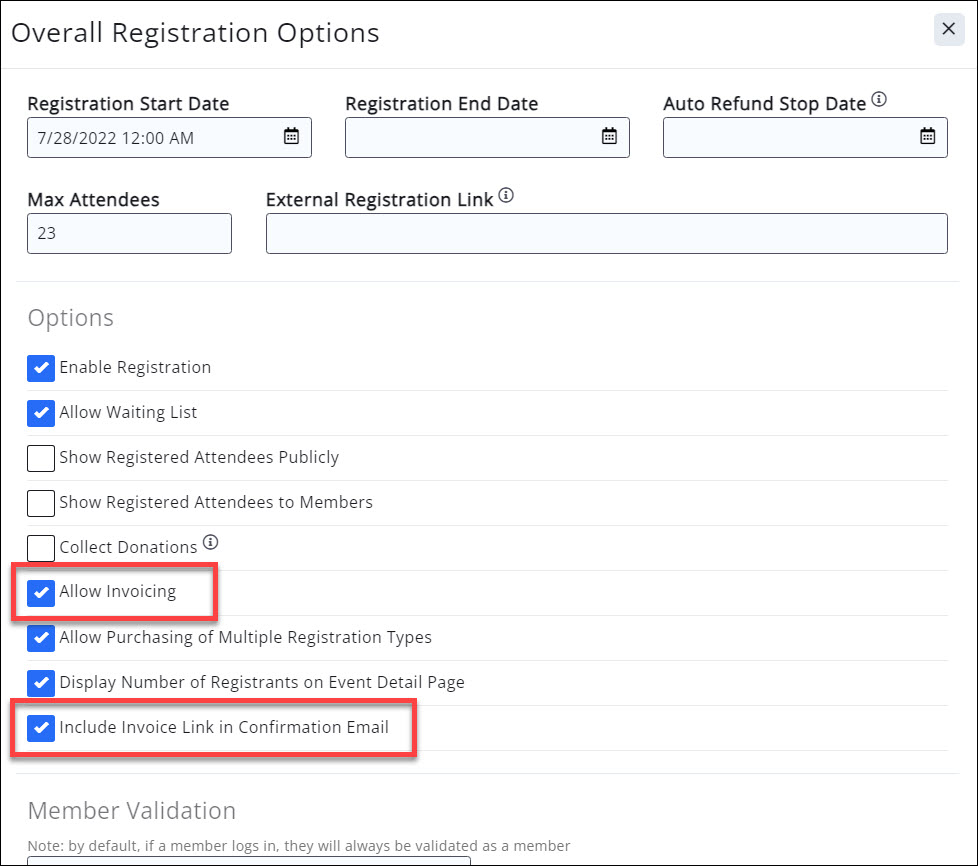
Enable the Include Invoice link in Confirmation Email setting and GrowthZone will automatically include a link to the email in all registration confirmation emails.
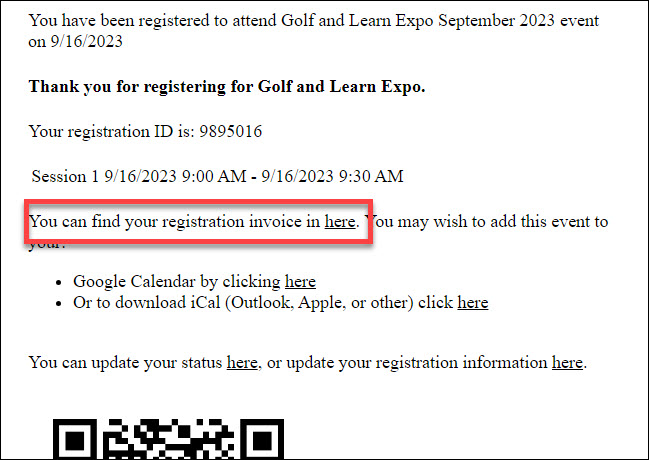
Be aware that if you have customized the registration confirmation email, you may need to re-insert the merge field for the invoice link in your custom email template.
From the Attendee Purchases Tab
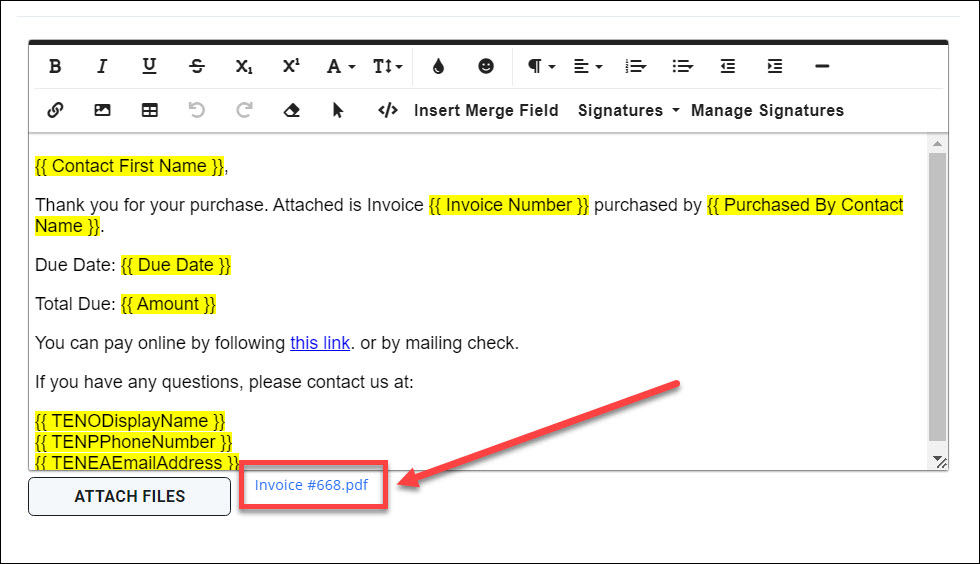
If you wish to email open or unpaid invoices, you can do so from the Attendee Purchases tab. To send event invoices one at a time, select the ellipsis to the far right of the invoice you wish to send, and select Send Invoice.
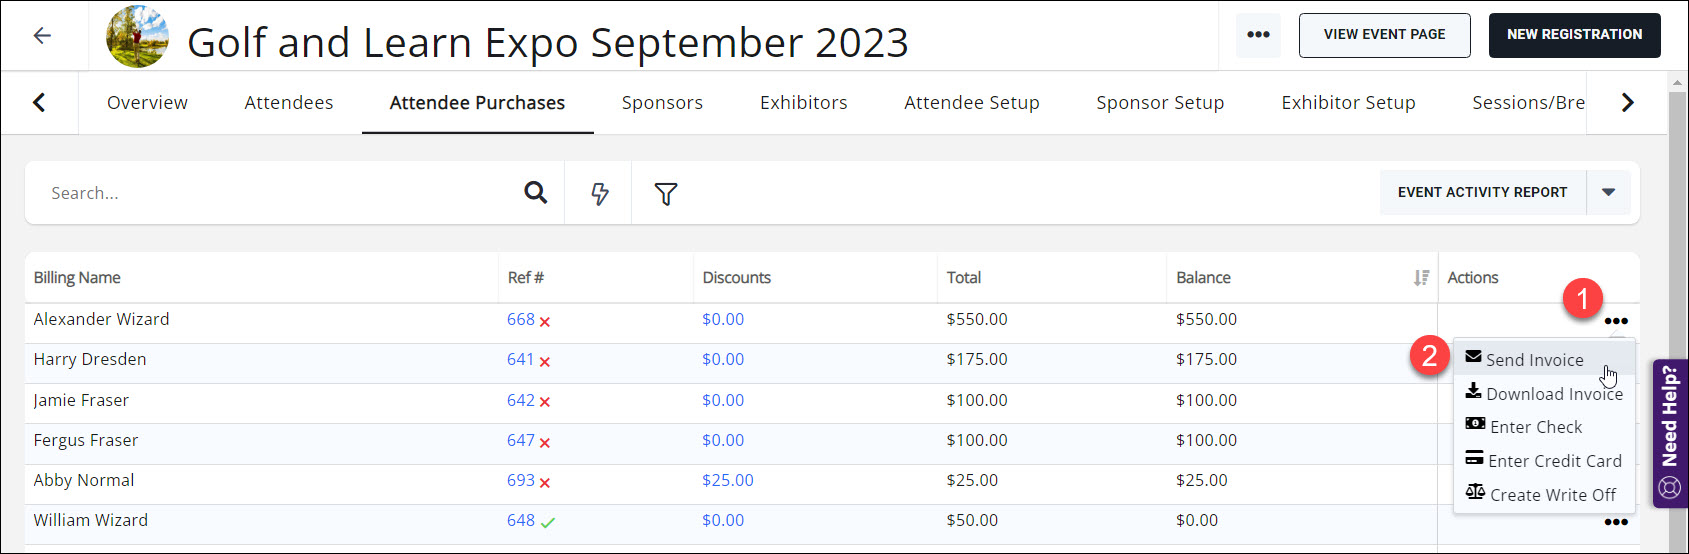
You can create an email on the fly, or select an existing template you have set up for this purpose; the invoice is automatically attached to the email.
From the Sales/Invoices Tab
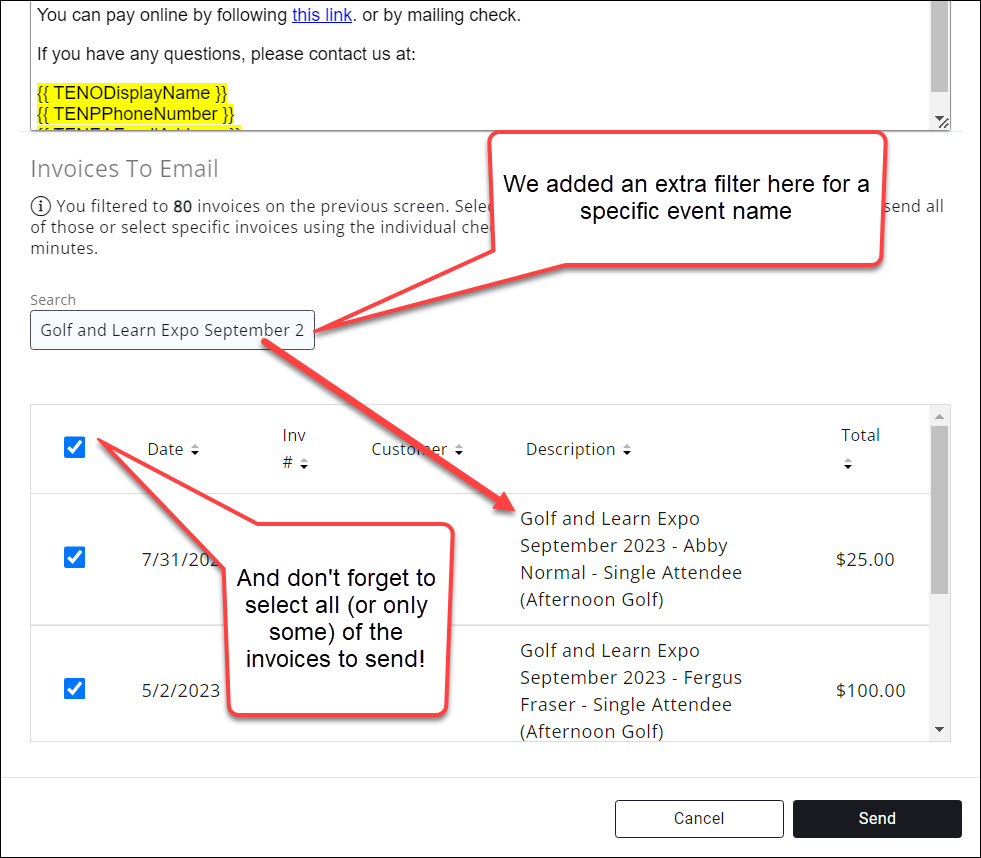
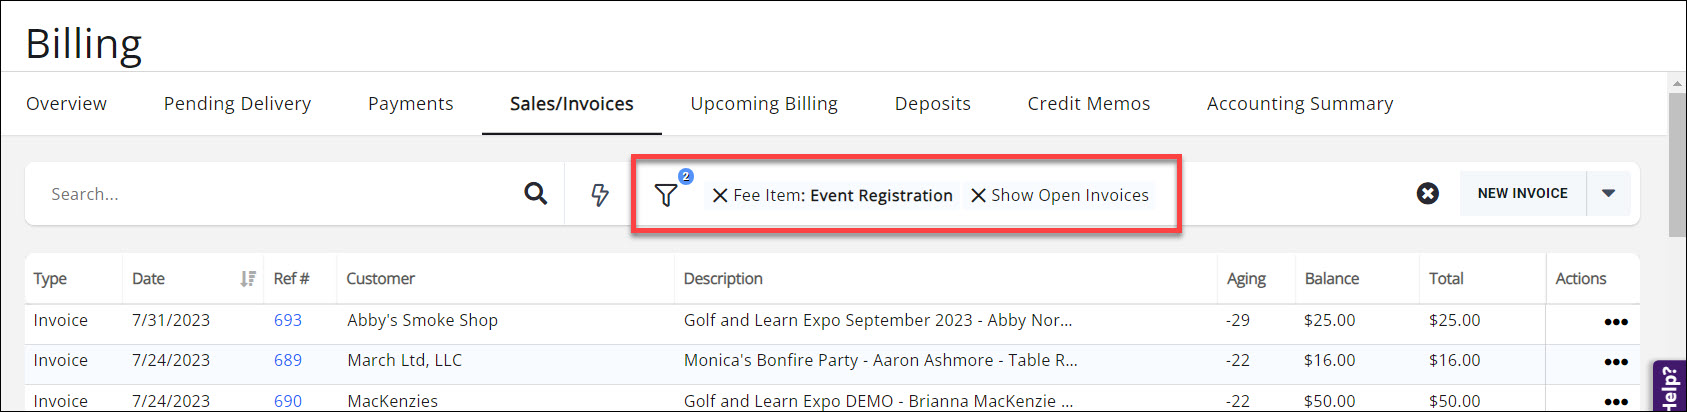
To send unpaid event invoices in bulk, navigate to the Billing module and go to the Sales/Invoices tab. Using the customize results button, filter to your desired invoice set- in this case, we'll look for open invoices using our Event Registration good/service item. You could also filter to a product type such as event registration.
Click the down arrow next to the New Invoice button and select the Email Invoices/Statements option.
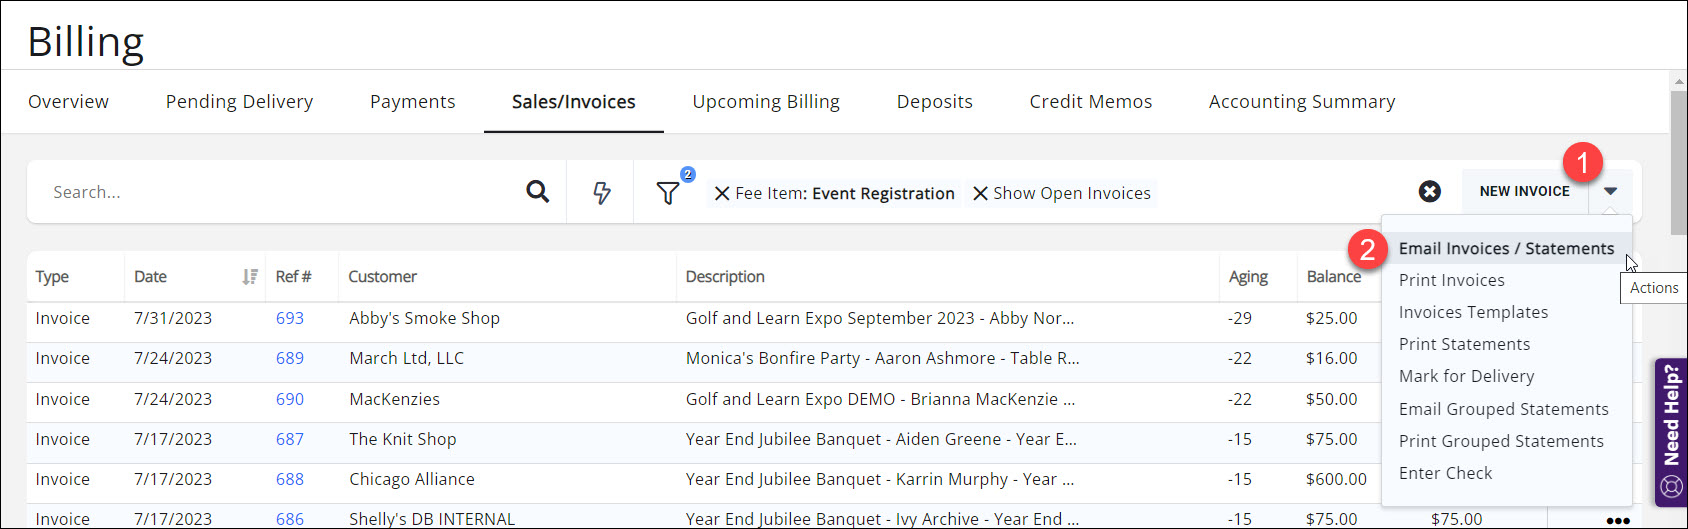
Choose and set your emailing options, and if needed, you can further filter the invoice list OR select only certain invoices from the list. Once the invoices you wish to send are selected, click Send and the invoices will be emailed.