.png)
Add a News Item

Mar 29, 2024
 2345
2345
News Items allow you to keep your members and the public up to date on the latest news and information about your members, community and association. News may be a list of announcements, articles, newsletters or any other type of post.
- Click Web Content in the Navigation Panel.
- Click the News Items tab. If you have provided a custom name for News when creating your content types, your custom name will be displayed on the tab. Additionally, if the News tab is not displayed, you will need to enable it as a content type. Refer to: Enabling Common Content Types.
-
- Click the Add button.

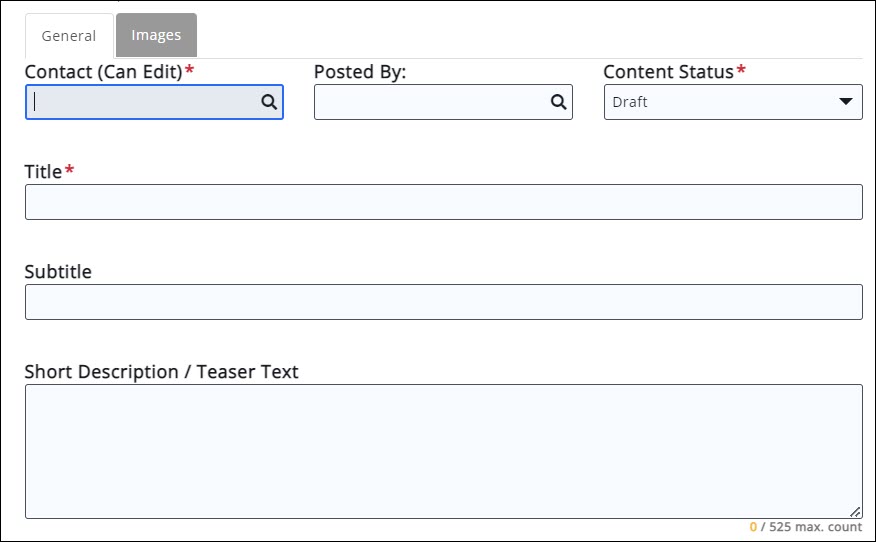
- On the General Tab, configure the following:
- Contact: Enter a Contact's name. The software's type ahead functionality will display options as you type.
- Content Status: Select status of this content. The content will not display on your web-sites until status is marked as Approved.
- Title/Subtitle: Enter a title and subtitle. Both of these will be displayed on your website.
- Tags: Add tags to enable filtering and searching.
- Description: Provide a description. This is the content of your news item.
- Search Description / Teaser Text: this is the description that will appear when the list of news items is initially displayed.
- Content Date: Enter the date the content was created.
- Publish Start: Enter the date the content should start being published to your web-site. If the publish date is less than five days old, a tag called New will show on the content.
-

- Publish End: Enter the end date for the publication of this content. Note: the Web Content Pre Expiration Notice automated email will be sent to the contact three days prior to the Publish End. Within the email will be a link, that will take them to the Info Hub where they could update the news item end date.
- Require Approval After Edi: if your designated staff must approve the content prior to publication, click this check-box.
- Category: Select a category(s) from the list. Categories provide a way for the public to search your news content, and also allow you to easily report and analyze on web content submissions. Click Here for details on setting up categories.
- Custom Fields: default custom fields have been included for each content type. You may remove these fields when setting up your content types and add additional fields as desired. Refer to Adding Custom Fields to your Content Lists for details on adding custom fields.
- Media Contact
- Related Links
- Source
- Additional Custom fields - any custom fields you have added to the content type will be displayed for configuration.
- Click the Images tab to add images to your news item. Adding an image to the Search Image will populate it in the first page. Other images appear after clicking into the content.
- Click the
 to drag & drop or upload an image.
-

- Crop & Save the image.
-
- Click Done when you have completed configuration of the news item.


